How to Build a Table Base
Building a table base is a rewarding project to take on. However, knowing how to build a table base properly is essential to ensure stability, visual appeal, and the right dimensions. Here’s what you should know about the process and how Osborne Wood’s Table Base Kit Builder offers a straightforward way to plan and customize your design.
Choosing the Right Table Base Design
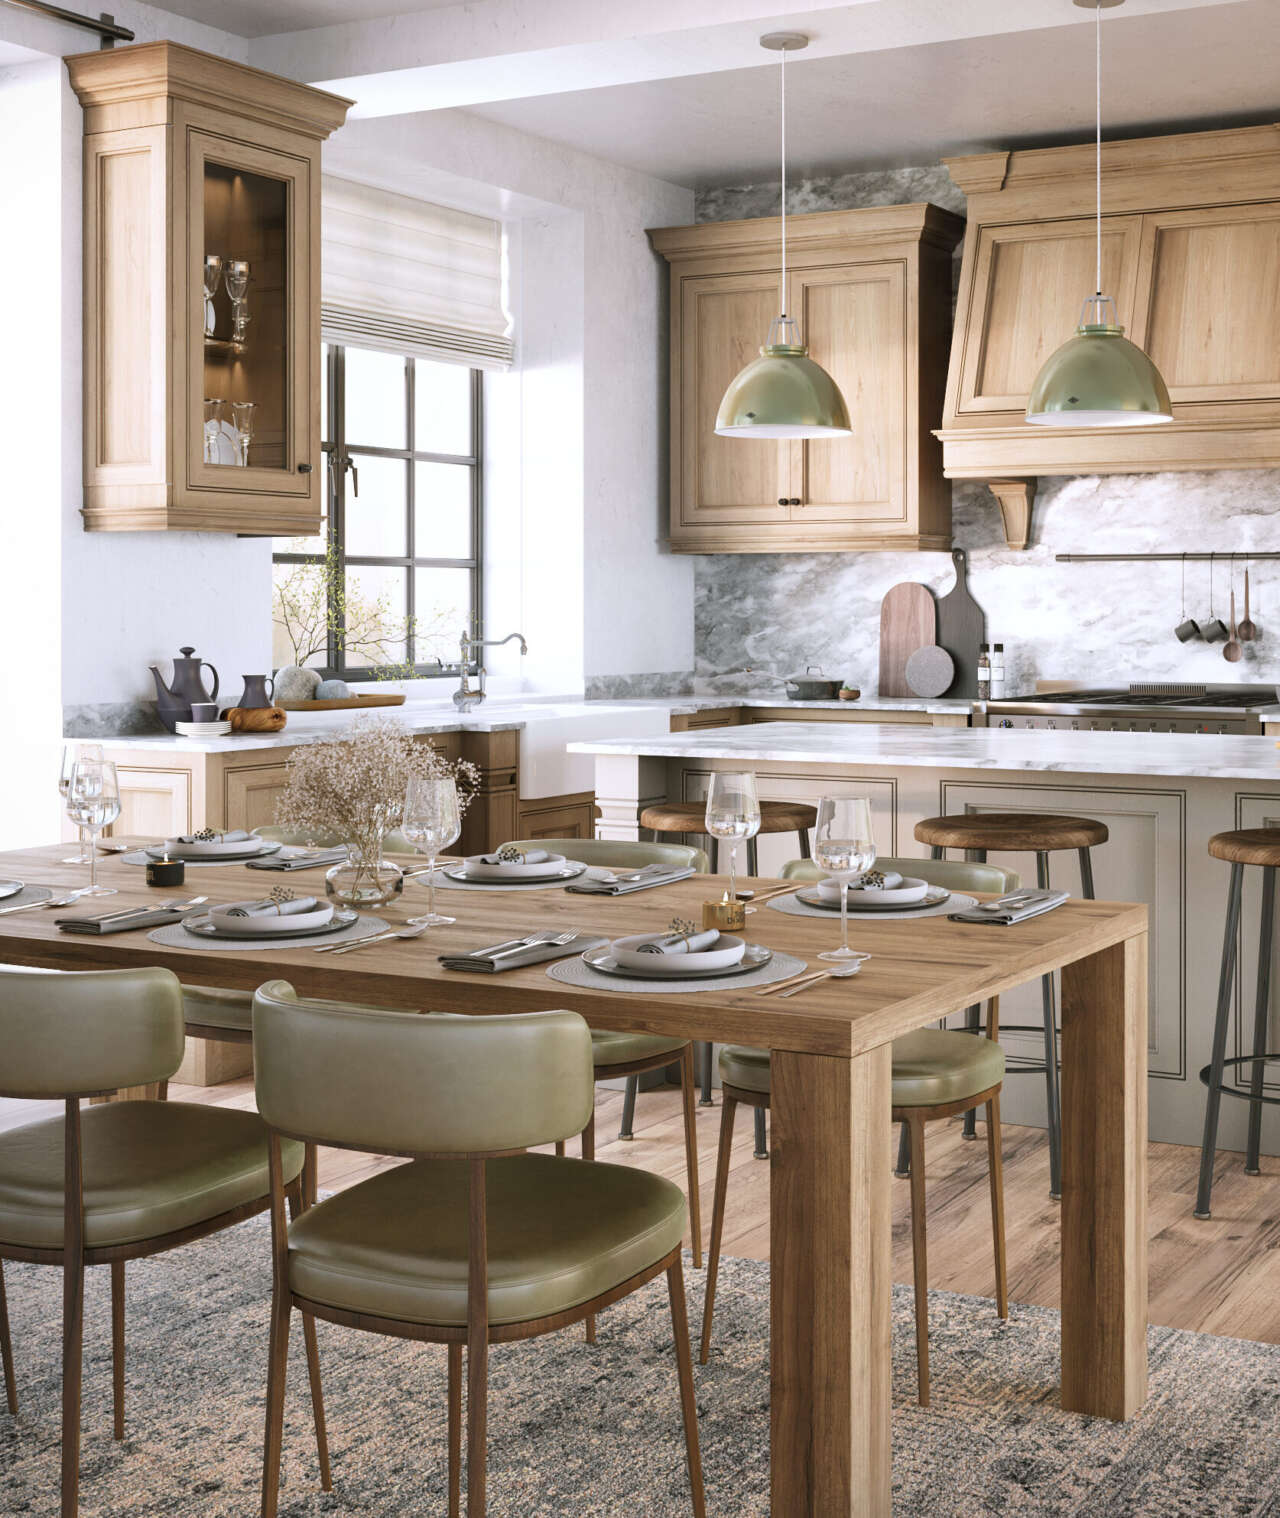 |  |
Are you wondering how to build a table base? The first thing you’ll need to determine is whether to choose a skirted or non-skirted design.
A skirted base has apron boards that connect the legs. This creates a rigid frame for the tabletop.
For non-skirted bases, legs are mounted directly to the tabletop. These designs rely on hardware and corner reinforcement.
Skirted bases offer a traditional aesthetic, with the apron adding visual weight and hiding most fasteners. This ensures the frame won’t undergo stress when someone leans on or pushes the table. Non-skirted bases achieve a lighter style and provide better knee clearance, meaning more legroom.
The plan for how to build a base for a table with a skirt focuses on joinery. Most often, accurately cut, repeatable joints are required for tables with skirts.
A non-skirted table relies more on hardware. Reinforcement with accurate drilling and clear layout lines keeps corners from loosening. In general, non-skirted table bases have less tolerance for error when working by hand.
If you’re choosing between the two, you’ll have to keep the design of your tabletop in mind, along with your planned workflow.
Feature | Skirted Table Bases | Non-Skirted Table Bases |
Main Parts | Legs and apron boards | Legs and mounting hardware |
Joinery | Mortise and tenon, dowels, pocket holes | Inserts, plates, blocks |
How the Top Is Attached | With fasteners like Z-clips or figure eights | By installing inserts, cleats, or mounting blocks |
Key Details to Get Right | Making accurate cuts and ensuring everything’s square | Ensuring the hardware layout and reinforcement are correct |
This Style Is Best For | Tables with traditional frames or heavy tops | Achieving a modern style and lots of leg clearance |

How to Build a Non-Skirted Table Base
These straightforward instructions for how to build a table base will help you handle any project that calls for a non-skirted base. Ensuring strength and stability comes down to proper mounting, and this method can provide a clean look and practical support.
Step 1: Choosing the Mounting Method
Using a mounting block lets you achieve sturdy corners. This approach improves screw holding power and prevents wobbling by spreading the load across the entire tabletop. A cleat has a similar effect but involves running fasteners along a longer line. This is a good idea for thin or narrow tops, and both options are easy to replace. Thread inserts can also be used and are ideal for easy assembly and repeatable alignment. A drill guide should be used for precision in this scenario.
Step 2: Preparing the Tabletop
When attaching legs directly to a tabletop, always start with a flat, high-quality tabletop. Set it up on a level surface and take your time marking the centerlines. Then, set the same inset for each leg. That way, your base will look even from every angle.
You’ll want to verify that the underside is smooth where hardware will be installed, so sand away any bumps before you start.
Plan out the fastener locations in advance and be careful not to place them too close to the edge or features where splitting can occur. Carefully choose appropriate hardware for your table, plan the layout, and drill pilot holes with a steady hand.
Step 3: Preventing Tabletop Warping
Wood is hydroscopic, which means that it will respond to the humidity in the air and expand or contract to reach equilibrium. This is sometimes referred to as seasonal wood movement.
A woodworker needs to consider how to allow for this movement while holding the tabletop on a flat plane. This minimizes the potential for cupping, gapping, washboarding, or warping. A skirted table naturally creates more contact points for the table top, which goes a long way toward improving the support for seasonal wood movement.
However, on a non-skirted table, woodworkers need to consider alternative methods for keeping the table top on a plane. A common installation includes routing a channel into the underside for a metal strip to be inserted which will provide additional points of support.
The disadvantage is that oftentimes, these C-channels are hard to install. Osborne Wood products offer V-stabilizer bars to help support this need, with a milling tool and bars at various lengths to take some of the difficulty out of this installation. One milling tool is appropriate for CNC milling, and the other will work in a router. Router installation is the most common for non-professional woodworkers. This method requires a jig to be made to accommodate two passes.
Other ways you can prevent tabletop warping is by spacing stabilizers clear of mounting hardware, and fastening screws or other hardware through slotted holes. Slotted holes allow the top to shift naturally while remaining level.

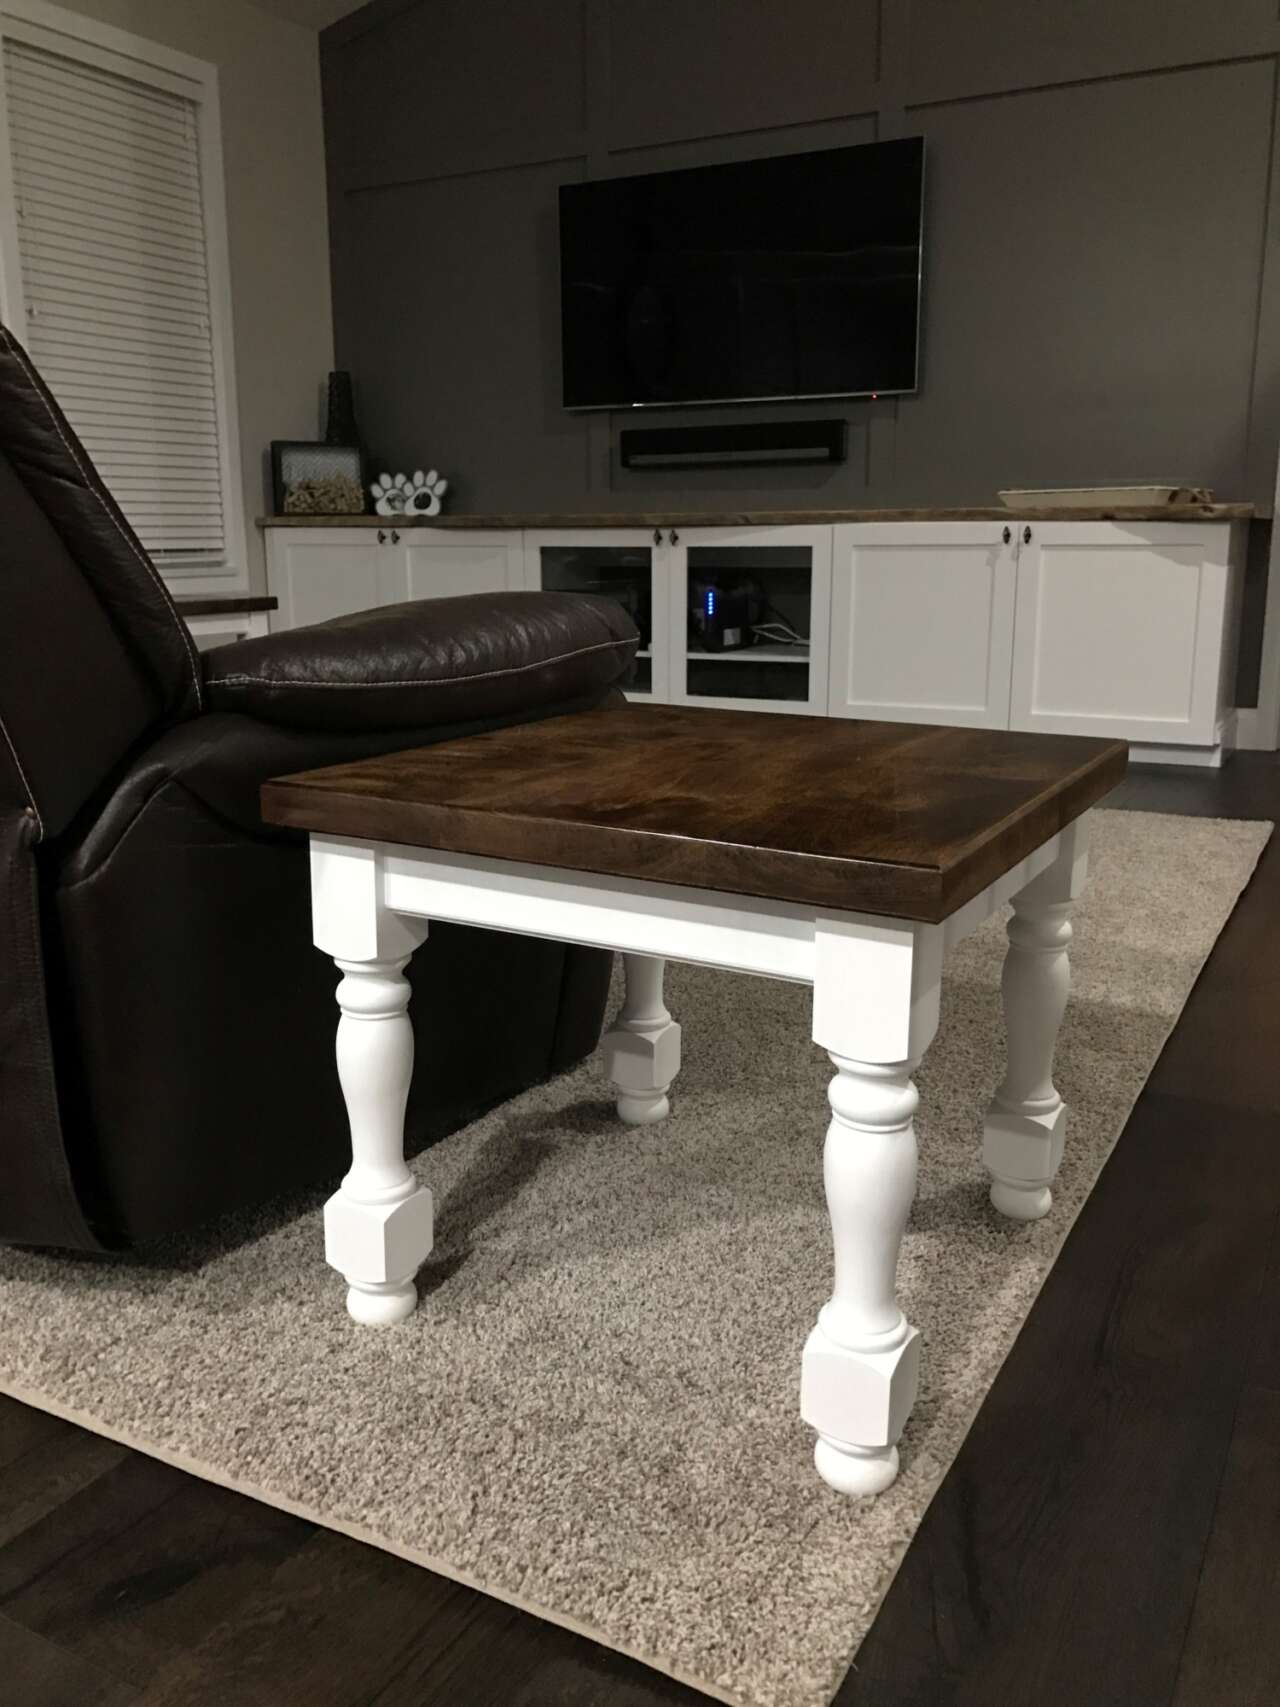
How to Make a Skirted Table Base
The process for how to make a base for a table with apron boards is somewhat different. This classic approach requires strong joints and a tabletop connection that allows for wood movement.
Step 1: Select Skirt Boards
Choosing skirt boards is the first step. The apron stock has to be straight and consistent for strength and appearance. Osborne Wood’s 4x1 True Stock boards are a great choice to ensure the frame comes together square during assembly. Always label each piece to avoid any mixups during installation.
Apron placement is another decision you’ll need to make. A small setback from the edge can suit many different designs. The leg placement will feel intentional, and you won’t have a high risk of anyone stubbing their toe on the legs. Dry-fit the frame to confirm how it looks before moving forward.
Step 2: Attaching the Base to the Legs
Attaching the apron boards to the legs requires the right wood joinery techniques. This depends largely on what tools you have and how much strength you need.
With a mortise and tenon, you’ll get a solid joint. Osborne Wood machines these traditional joints with exceptional precision. Dowels are also good as they are simple to install and allow for easy alignment.
Pocket holes are another option and is what you will find on most of Osborne Wood’s table kits. Pulling out a jig and drilling holes for dowels is also very straightforward and a potential choice for beginners. In most cases, gluing and clamping at the same time is a good idea for added durability.
Step 3: Attach to Tabletop
Finally, you’ll need to attach the tabletop. This shouldn’t be done by driving fixed screws through the apron into the tabletop. That will lead to long-term movement that can split the wood or bow the base. Instead, use connectors that allow for pivoting or sliding while keeping the top firmly pulled down.
Pocket holes are a reliable solution in most cases, but dedicated fasteners are another potential option. Figure-eight fasteners rotate as the top shifts. Z-clips ride in a kerf or groove along the apron.
Regardless of the method you choose, make sure to leave sufficient clearance to allow the hardware to move freely.
Customizing Your Table Base With Osborne’s Table Base Kit Builder
Osborne Wood’s Table Base Kit Builder simplifies the entire process by breaking it down into just a few inputs. Working from tabletop dimensions, finished height, and your skirt preferences, it cuts out all of the hard steps so you can build a table in no time.
This tool takes all the details into account so that you get the right table base components for your needs. Proportion, strength, visual appeal, and clearance are all tailored to your custom table project.
Leg selection is easy when you’re guided toward the proper leg style and size. The kit also includes compatible joinery and mounting hardware. Practical stability reinforcements and fastening solutions bring the entire project together. You can build with confidence without having to go through trial and error.
Finishing Touches for a Table Base Build
With the tabletop and base ready, you can now finish your table project. First, prepare for coating success by sanding evenly through a grit sequence tailored to the wood species. Make sure to address any sharp edges so your stain, paint or sealer won’t chip in the long run. Clean away dust, being extra careful around corners and profiles.
Always test stains or other coatings on offcuts first to make sure you’re happy with the finished appearance. Some species can benefit from a conditioner for better absorption. If you’re using paint, you’ll want strong adhesion. Scuff-sanding and proper priming will help your paint coats last.
Make sure to level and adjust the base before attaching it to the tabletop. Lay it out on a flat floor and look for any wobbles. When attaching the legs, you can use levelers as required. Check that the diagonals are equal and that you have good contact on all corners, and tighten hardware as needed.
Make Your Own Table Base Today
If you’re wondering how to build a table base and make your vision a reality, Osborne Wood’s Table Base Kit Builder is a great place to start. You’ll be able to build your own custom table base with the dimensions and style you need for your project.
Get started with Osborne Wood’s Table Base Kit Builder today and take the right approach to table building.