Extending an Osborne Pedestal Kit to 29" Height
When scrolling through the Osborne website you may notice the vast selection of pedestal kits in our collection. This collection features ready to assemble kits made up of one pedestal base and matching feet; all with hardware installed. As you check into the specifics of the design of choice you may notice that the pedestal finishes off at a 25″ height. “But isn’t a standard table higher than that?” Yes. A standard dining table finishes off at 29″ high. These kits are designed to allow for equalizer slides to be put into place under the table top to allow for leaves to be placed in the center of the table. With these equalizer slides in place your pedestal table will finish at dining height. For instructions on installing Equalizer Slides click HERE. If you don’t plan on extending your table, but still want it to sit at a standard dining table height keep reading! We have an easy way to extend your pedestal with just three pieces of wood. Check it out!
We recommend first pre-fitting the pedestal base components (base and feet) to ensure everything fits properly. We also recommend finishing your table top, base, and feet prior to installing height extension pieces.
Finally, we need to note that in order for this to work, you must have a table with 4″ apron pieces. Your table top can be square, rectangular, oval, or any other shape, but a 4″ apron must be attached to the bottom. If your table apron is in place, let’s begin:
You will need several tools and supplies in order to complete this project:
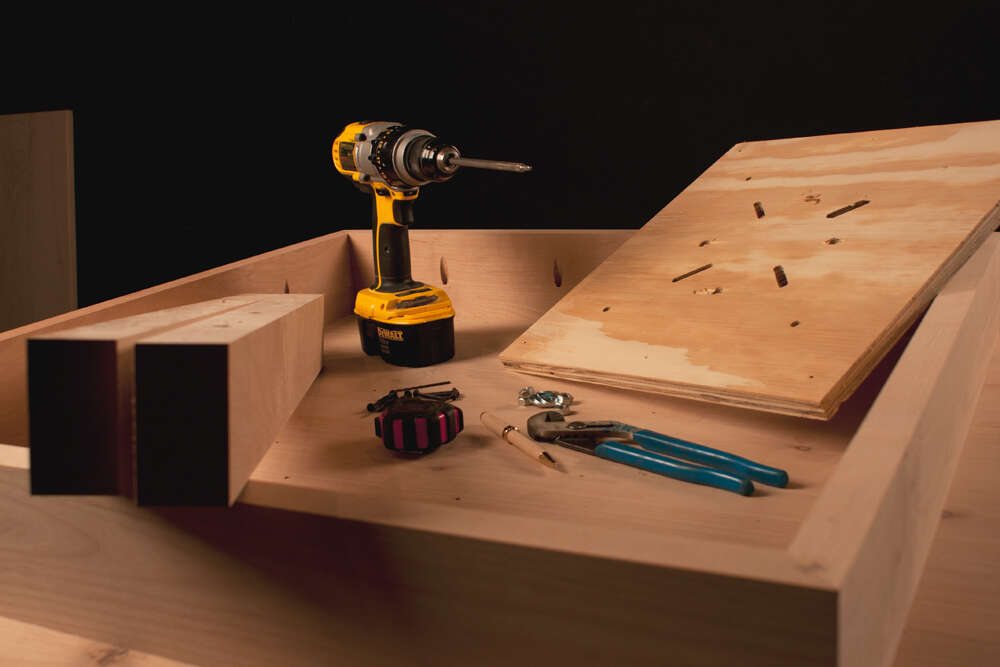
- Two 3″ high stretcher boards. These boards can be any width you desire, but they must be 3″ high and made out of hardwood (NO pine).
- One square piece of plywood. This plywood should be small enough to fit between the aprons of your table, but no specific dimensions are required
- 8 Screws for attaching the stretchers to the table top. Make sure these screws are long enough to go through the stretchers and into the top, but short enough that they do not go through the top
- 6 Screws for attaching plywood to the stretcher
- Power Drill
- Wrench
- Tape Measure
- Pencil
The Perfect Stretchers:
You will notice in the supplies list that a specific length for your stretchers is not given. Not to worry! This size will be entirely up to you. Make sure that the stretchers are long enough to cover a majority of the underside of the table while still fitting between the aprons. Our stretchers were a little shorter than the available space under the table. Also, make sure that the stretchers are being placed against the grain of the table. That means, if the grain of your table top is going left to right your stretchers go up and down. To go with the grain will cause the table top to warp and bend along with the stretchers. Placing the stretchers against the grain counteracts this warping and keeps your table firm, sturdy, and a flat surface.
Pilot Holes and Countersinking:
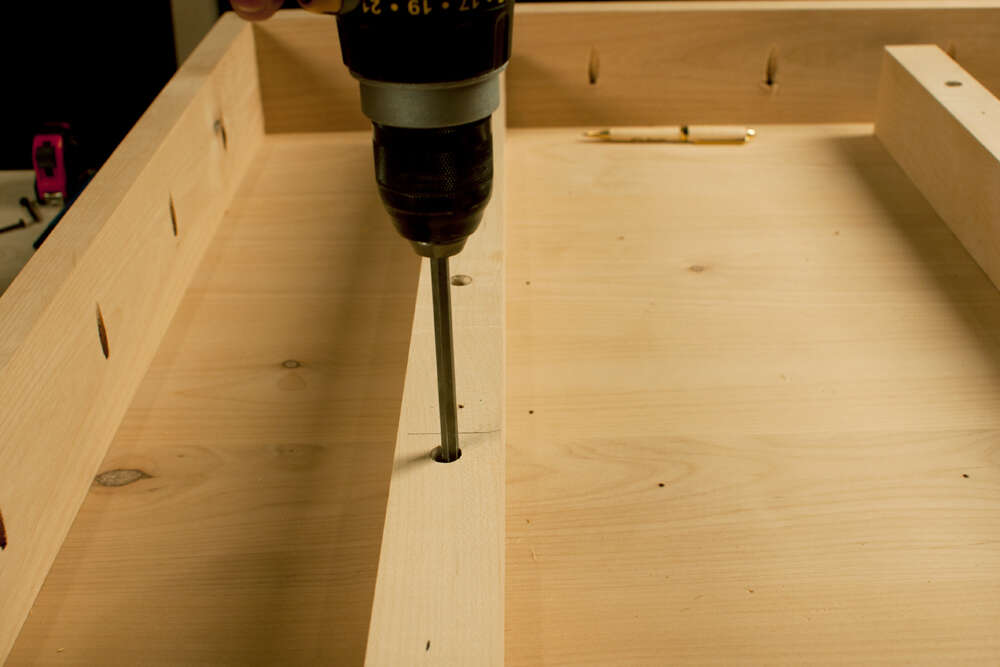
Because your table and stretchers are made of Hardwood, it is a good idea to prep the wood for attachment before major steps. Drill pilot holes in the stretchers to allow for easy attachment. Make sure to countersink the opposite side for easy installation. We recommend 4 holes on each stretcher to allow for ample support.
Measure Twice, Cut Once – Extension Stretchers:
Measuring will be incredibly important during this project. Because this table will be resting on a single pedestal it is extremely important that everything is centered, otherwise the table will be lopsided and unstable.
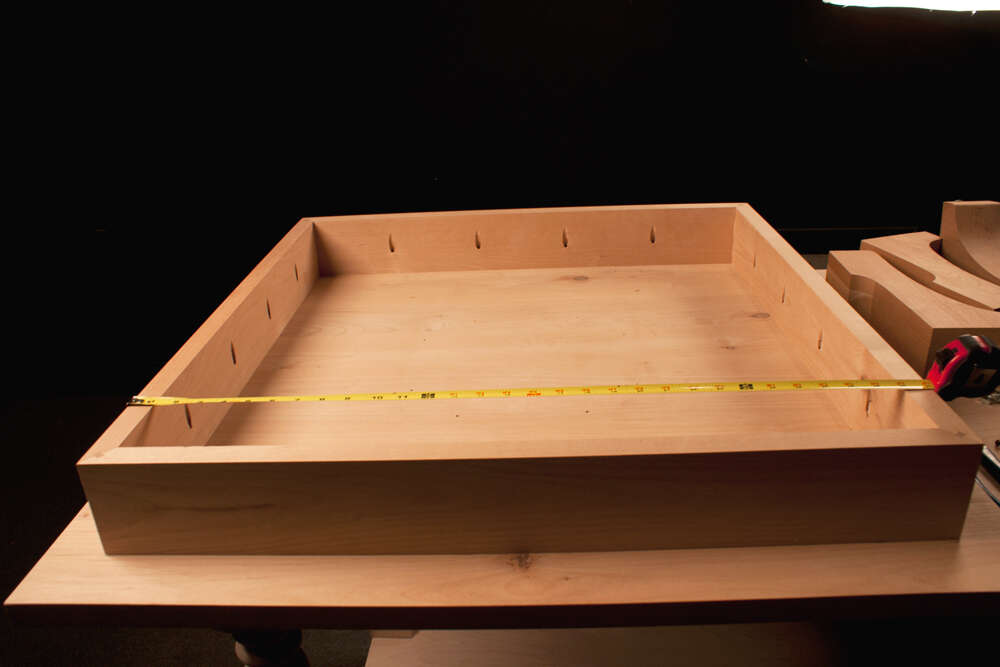
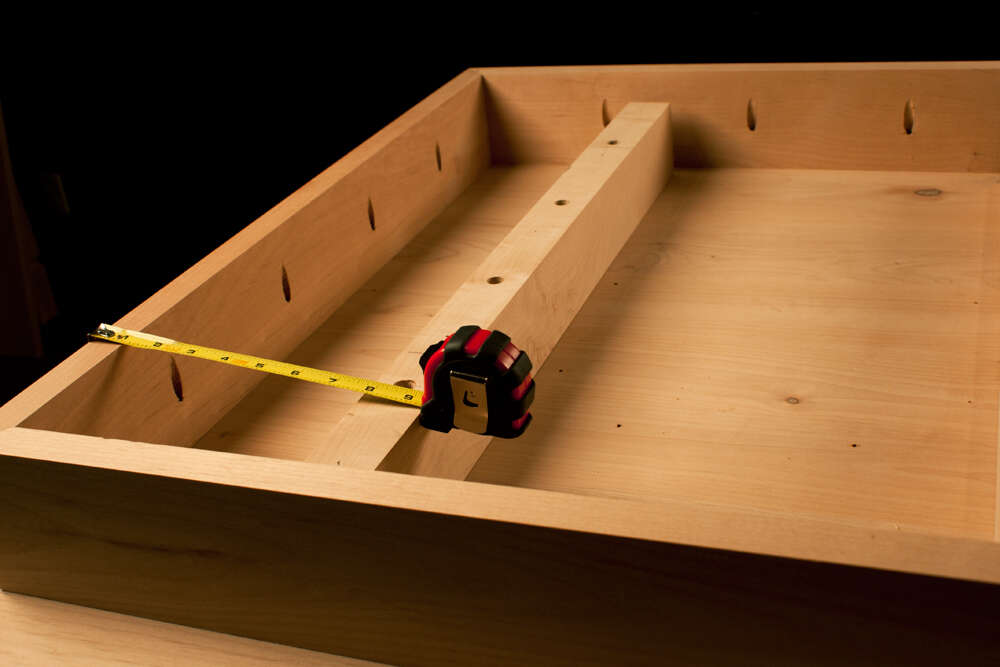
- Begin by measuring the apron pieces and the available space between them.
- Place your stretchers, pilot holes down, parallel to each other between the aprons. Make sure your stretchers are going against the grain of your table. It does not matter how close together or far apart the stretchers are, as long as they will be able to hold your plywood. We would recommend placing them so that the plywood edges will sit directly on the stretchers, distributing the weight of the table.
- Place the stretchers on the table top an equal distance from each side. For example: if the left stretcher is 7″ from the left apron, the right stretcher must be 7″ from the right apron. If your stretchers do not touch the skirt, make sure that they are lined up with the same distance between the tops and bottoms (top of stretcher and top of apron, and bottom of stretcher and bottom of apron).
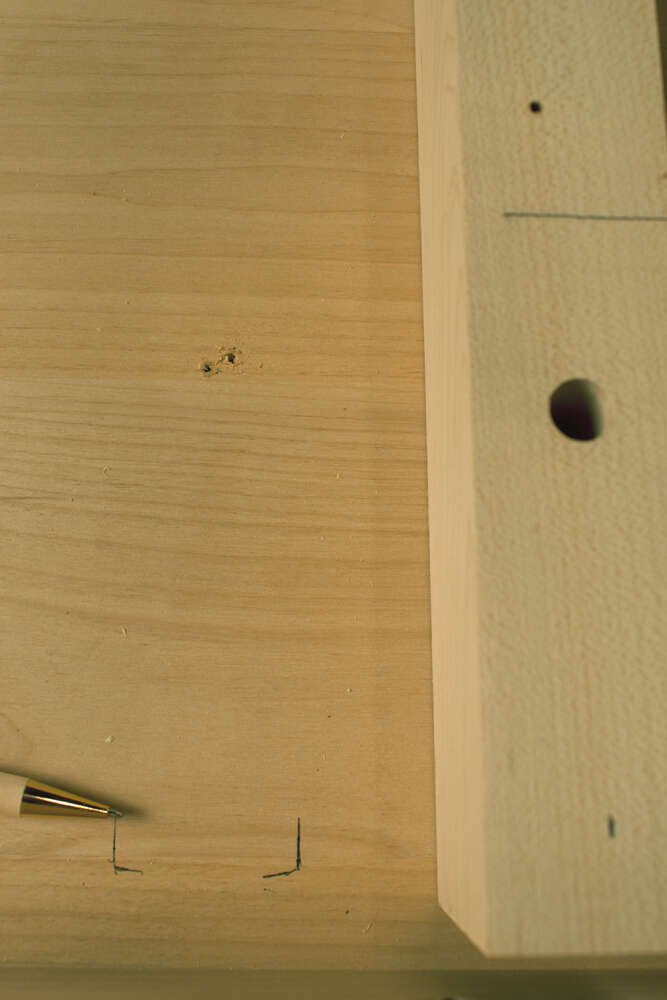
- Mark out the location of the stretcher if needed to ensure the board does not move between measuring and drilling.
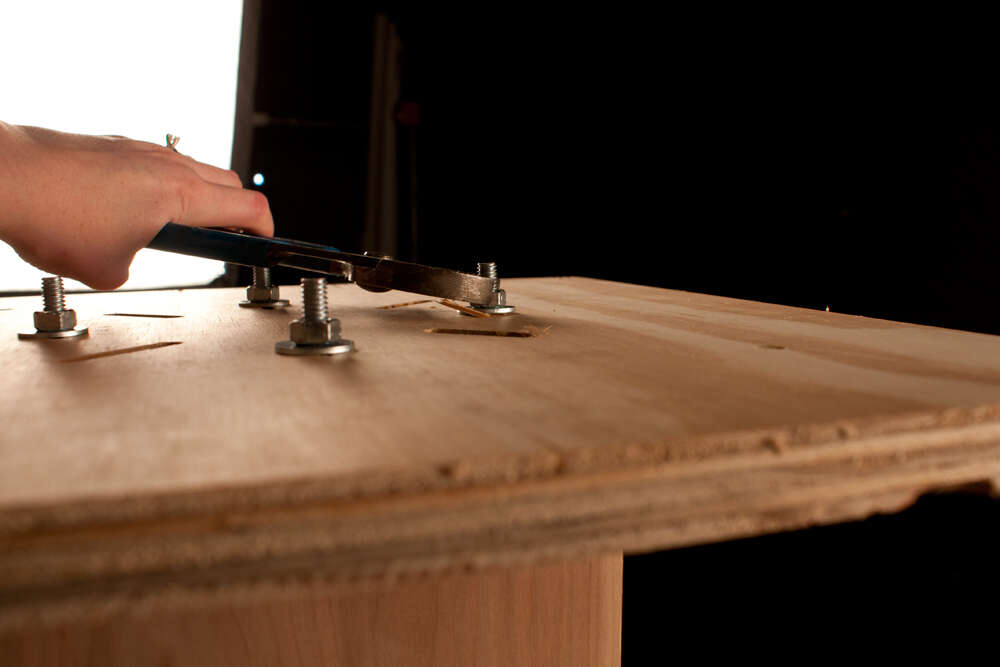
- Use the 8 screws of correct length and attach the stretcher to the table top using a power drill. Be very careful not to drill through the table top.
Prepping the Base – Plywood Plate
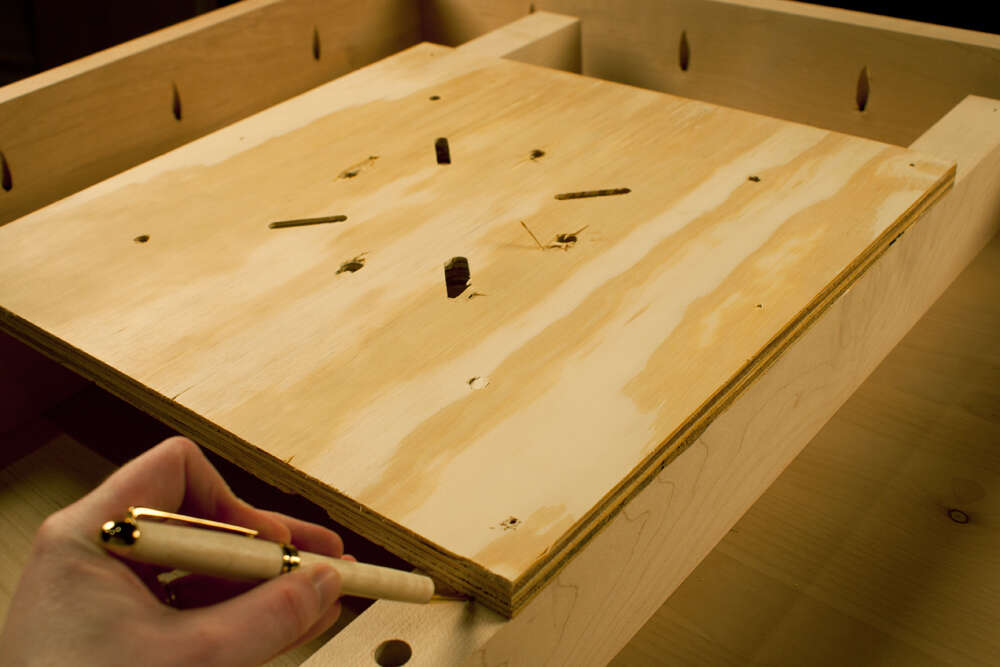
- Similar to the measuring we did for the stretchers, we must now measure to center the piece of plywood in the center of the table. This plywood will act as a plate that will connect the pedestal base to the stretchers. Once the plate is centered, mark the stretchers to ensure proper placement for drilling.
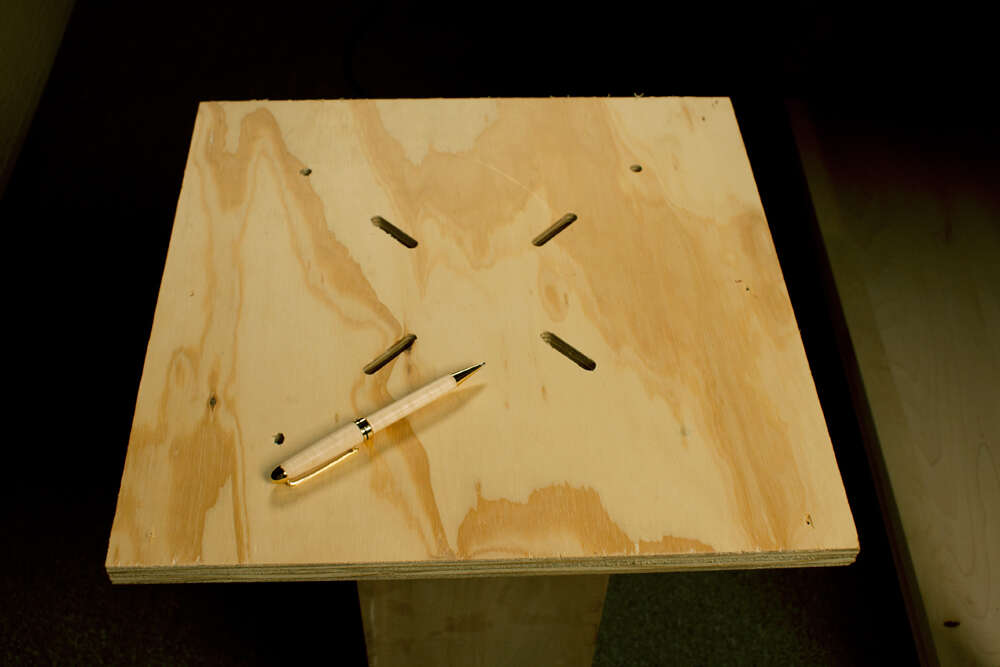
- After the stretchers have been marked we need to drill the plate to accept the hardware of the base. Pedestal bases from Osborne come with hardware already installed. This means that your base will have 4 hanger bolts sticking out of the top with nuts and washers. Remove the nuts and washers. Place the plywood on top of the pedestal and mark the location of the hanger bolts. Remove the plate from the pedestal base. Drill through the plywood to allow the hanger bolts to come through the plate.
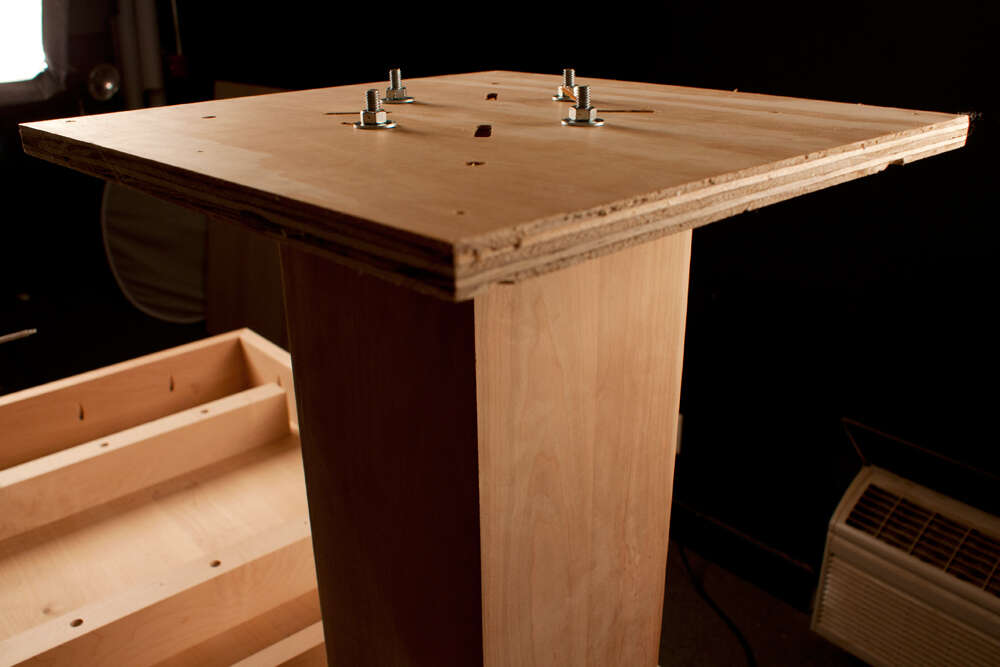
(Note that if your base is square you will want your plate to also be perfectly square. If your base is round the location of the holes on the plate will determine the placement of the feet in relation to the table top. You may turn your place to appear as a diamond to rotate the base 45 degrees under the table.) - Once the plywood has been drilled you will need to place the plywood on top the pedestal, lining up the holes and the hanger bolts. Place the washer down over the bolt, followed by the nut and tighten. Use a wrench to ensure the hardware is securely in place.
Attaching the Base to the Top
- When the plywood plate is fully secured turn the pedestal upside down and place the plate on the pre-marked lines from step 1 in the above series (Prepping the Base). Because your stretchers are hardwood you may want to drill some pilot holes in the stretchers so that you can easily attach the plywood.Be sure to mark off the location of the pilot holes on the plywood for easy installation.
- Use your tape measure to check to ensure that the plate is exactly in the center of the table.
- After the plate has been placed in the proper location on the stretchers you can then attach the plate using the 6 screws for attachment. (You can use more than 6 if your table is larger for extra support). Using your pilot holes as guides, attach the plate to the stretchers.

Finishing the Project: Attaching the feet
- Now that the plate is securely fastened to the stretchers, your pedestal is ready for the feet to be attached.
- Your pedestal feet should come with two hanger bolts installed with a nut and washer. Take off the nut and washer and place the hanger bolts through the pre-drilled holes on the base. Attached the feet by placing the washer on first and fastening with the nut. Make sure to tighten with a wrench for a secure fit. Repeat with the other three feet
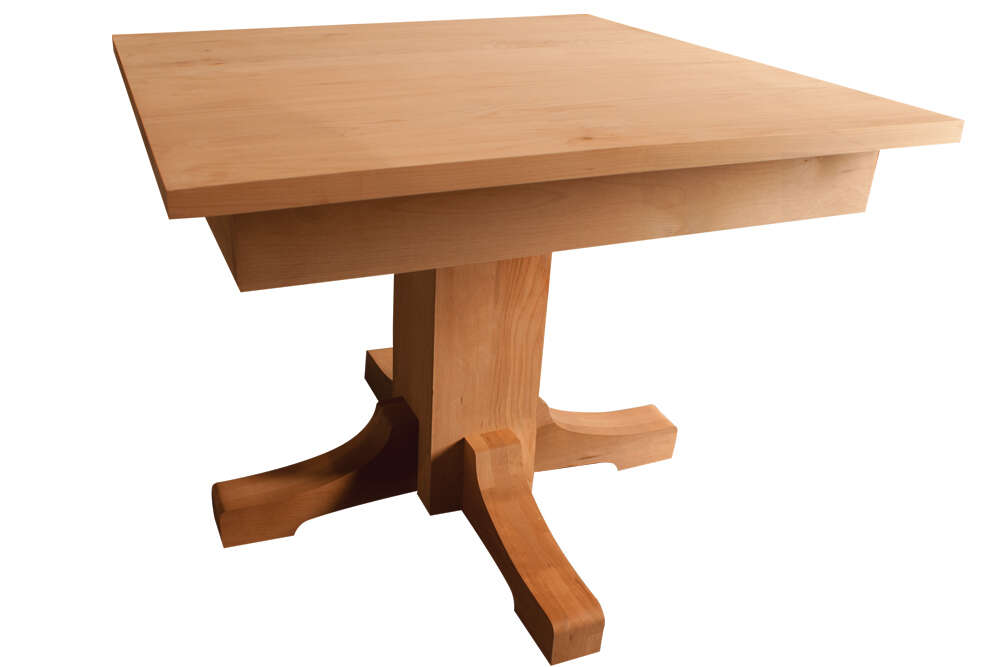
The Finished Product
Your dining table height pedestal table is now ready for use. Carefully flip the table over and enjoy!
Operation FINALLY HOME was established in 2005 as a nonpartisan/nonprofit 501(c)(3) organization. In 2015 Operation FINALLY HOME is celebrating 10 years of providing custom-built, mortgage-free homes to America’s military heroes and the widows of the fallen, those who have worn America’s uniform and sacrificed so much to defend our freedoms and values. Operation FINALLY HOME partners with corporate sponsors, builder associations, builders, developers, individual contributors, and volunteers to help America’s military heroes and their families transition to the home front by addressing one of their most pressing needs—a home to call their own. To find out more, visit OperationFinallyHome.org.