How to Install Corbels and Brackets

Corbels are like beautiful pieces of artwork that can showcase the grain and color of wood to its best advantage. They are often used as focal points within a room. Our vast selection of corbels and brackets features everything from intricate wooden carvings to simple metal designs. Incorporating a decorative corbel, whether it is simple or ornate, can dramatically alter the appearance and feel of a space. This guide explains the different methods of installing corbels and how to determine the correct way to complete your build.
INSTALLING A CORBEL
There are numerous ways to install a corbel or bracket. Choosing the correct method is largely dictated by the location of the installation and the sort of load it is going to be carrying. Further considerations would include accessibility to the mounting surface and whether or not you can disguise the evidence of mounting on the parts of the corbel that are visible. Installation methods may also be guided by experience; as complicated installation procedures are probably the purview of a cabinetmaker or experienced homeowner. But even a novice can feel comfortable when using a hanging system that incorporates pre-drilled keyhole slots.
Installation methods for corbels can be divided into two categories: hanging or hard mounting. Simply hanging a corbel is a good choice if the overall weight is light to negligible. Hard mounting with screws or bolts is a sturdier and more professional solution. In fine cabinet work, hard mounting is a requirement for a properly finished installation. And, if the corbels are actually making a contribution to providing support, a hard mount is essential.
1) Hanging a Corbel
Any wooden corbel you order from Osborne Wood Products will have at least one keyhole slot routed directly into the wood on the back side of the piece. In many instances this will be surmounted with a metal piece for reinforcement. Corbels will have one, two or three keyhole notches as is appropriate to the size of the piece. (Note: Please contact one of our customer service representatives directly for information on the number of slots on a specific piece). To use the keyhole slot for hanging, first determine the location and height where you will place the corbel and make a mark on the surface where the top of the corbel meets the wall. Then measure down the back of the corbel from the top of the corbel to the highest points of the narrow ends of the keyhole slots. Mark these measures on the surface where you will mount by measuring down from your top-point mark to the two points you just measured.

There are several criteria you will want to consider when selecting the screws that you will mount in the surface or wall for eventual support for the bracket. First, the round portion of the keyhole slot is 3/16” so you will want to select a screw with a head that the slot will accommodate. Next, the length of the screw will be dictated to a large degree by the weight you propose to support. Finally, you may want to consider wall anchors if you are going to have to hang the corbels in sheetrock which does not have the benefit of a stud into which you can secure the screws.
2) Hard Mounting a Corbel
Hard mounting includes any mount where the corbel is directly attached to the supporting surface with screws or bolts, and also wood glue if mounted on a wood surface. This attachment of a corbel is ideal as it is not only very strong, but also invisible. Removal of the corbels from work that has been completed in this manner would be impossible without deconstructing the cabinet work.
Hard Mounting from Behind: For installation on a wood surface, place the corbel face down on a soft surface and apply a thin coating of wood glue to the back of the corbel. For proper alignment of the corbel, you can place the corbel on the wall using the hanging method described above, pressing firmly to fully coat both surfaces with the wood glue. Once dry, the wood glue bond will be very strong but requires a firm clamp while it dries. The screws and/or bolts used in the next step effectively clamp the two wood surfaces together as the glue dries, forming a tight bond. (Note: If you are installing the corbel on a non-wood surface, you can omit the wood glue).
To attach the corbels from behind, use at least two screws or bolts that are long enough to pierce the supporting material behind the corbel, and at least 1 ½ inches into the corbel itself. Take care not to use a screw that is so long it will go entirely through to the front of the corbel. To prevent the corbel from shifting, a helper should hold the corbel firmly in position from the front while the screws are placed from behind.
Hard Mounting from the Front: There are occasions when corbels must be mounted from the exposed front of the corbel. Although this situation most often arises during a retrofitting project, it occasionally occurs during an installation where no other alternative for mounting exists. If it is not possible to attach the corbel with screws from behind the corbel, you can screw the corbel into the mounting surface from the front, and simply cover the heads of the screws with wood putty when done. Use at least two screws that are long enough to penetrate the corbel and at least 1 ½ inches of the mounting surface.
3) Combining Hanging and Hard Mounting
You may encounter situations where you need the functional advantages of hanging the corbel but require the stability and professional result of a hard mount. In this instance you may utilize a hybrid installation method that borrows a little from each method. You will hang the corbel on screws that have been placed into and through the supporting surface. The screws will receive nuts on the back side of the supporting surface. Once the corbel is hung on the screws, the screws are secured by tightening the nuts.

Corbels for countertops and shelves can create instant beauty and sophistication. Many customers who have installed our corbels for their countertops or shelves are amazed at how elegantly they can transform the look of their home.
If you are using corbels mainly for decorative purposes, keep this rule of thumb in mind: although your intention is to adorn your home, the corbel’s appearance should be that of utility. In other words, even if the corbel isn’t actually supporting another structure, it should look as if it does.
If you intend to place corbels beneath a countertop, the key dimension you are focused on is the depth of the corbel. Corbels to be used under a countertop should be at least ½ of the depth of the overhang which it will support, and look even better when they are ⅔ or ¾ of the depth of the overhang. For example, a countertop with an overhang of 12 inches requires supporting corbels that are at least 6 inches deep. Using 8 or 9 inch corbels provides extra support and makes the corbels a bit more visually appealing.
Corbels used to brace shelves must be at least 2/3 of the depth of the shelf which they will support, since the corbel will be the shelf’s sole means of support. It is preferable to have the corbel be 3/4 of the depth of the overhang, for better support and visual appeal. For example, a shelf that is 12 inches deep will require supporting corbels that are at least 8 inches deep, but corbels that are at least 9 inches deep provide better support and visual appeal.
Positioning the Corbels Under a Countertop or Shelf
To position the corbels under the shelf or counter top, place one corbel three to six inches in from each end, unless the counter or shelf meets a wall. In this case you should install the end corbel(s) against the wall. Then, install corbels equally apart between the two outside corbels without exceeding a maximum span, depending on the material being supported. The horizontal distance, or span, between countertop and shelving supports is a critical design consideration. If the supports are too far apart, the shelf will eventually sag. Recommended shelf support spacing depends on the type of shelf material, the width of the shelf, and the size of the load it must carry.
MAXIMUM SPAN BETWEEN CORBELS
| Supported material | Lightweight (knickknacks) | Heavy weight (books, canned goods) |
| Lumber 1 x 10 | 30 | 24 |
| Lumber 1 x 12 | 33 | 26 |
| Lumber 2 x 10 | 60 | 48 |
| Lumber 2 x 12 | 60 | 48 |
| Granite 1 ¼ inch thick | 36 | 36 |
| Granite ¾ inch thick | 24 | 24 |
As an example, if your 1 ¼ inch thick granite countertop is 6 feet long, you will need three corbels to provide proper support. In this case, two of the corbels should be placed near each end of the countertop, and one corbel should be placed equally between them.
Where to Use Corbels
Corbels are so beautiful that they shouldn’t be limited to use under a countertop in the kitchen. In fact, corbels can create instant architectural excitement in any part of your home. Corbels can provide a feeling of warmth, a touch of formal elegance, or anything in between depending on the style you choose. Whether you choose a simple design or something ornate and fancy, you will create a tasteful and stylish focal point for any room. Your imagination is the only limitation in finding places to put these beautiful focal points!
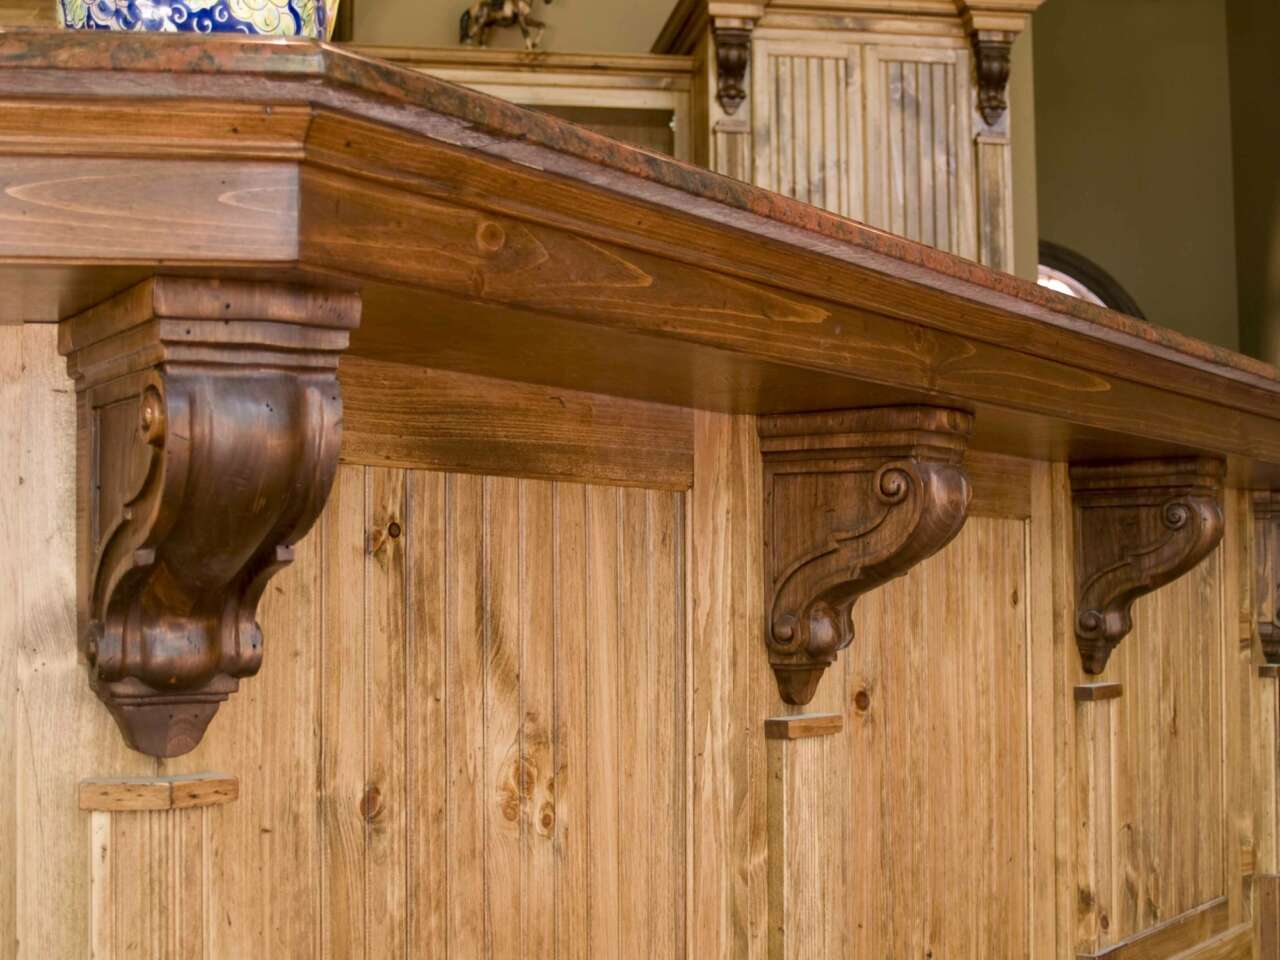
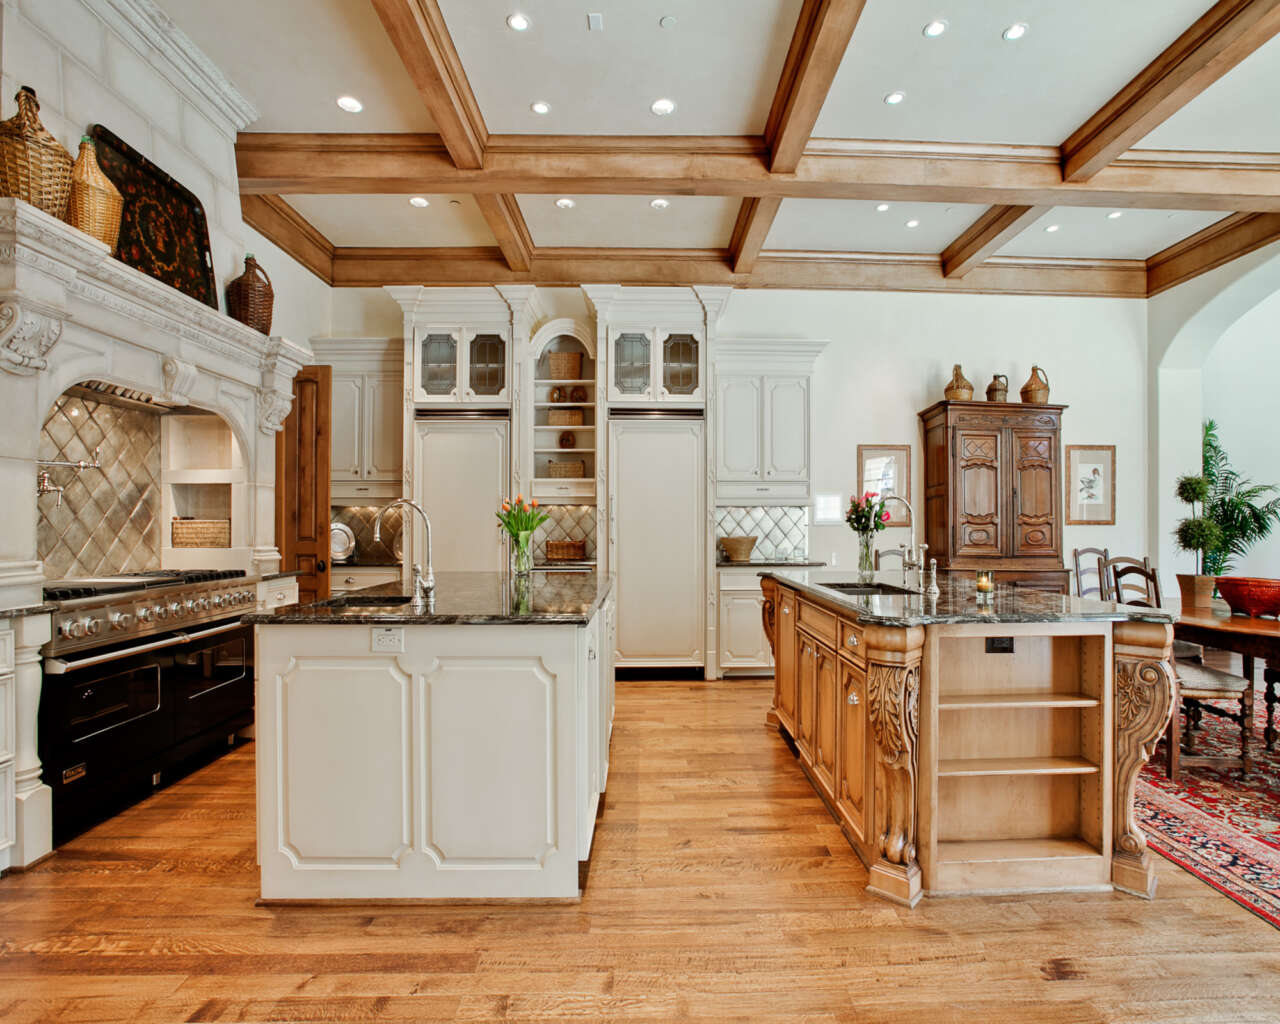
KITCHEN ISLANDS AND BARS: Corbels are often used in kitchens supporting counters or islands, and are available in so many beautiful styles that they don’t need to be just functional. Choose beautiful carved wood corbels to make any breakfast bar a show-stopper! Place an ornately carved wood corbel on each end, or several in a row, to support the countertop. Corbels work beautifully with granite countertops, but can work with any horizontal surface. Use corbels under your cabinets for an instant, elegant upgrade. Corbels can dress up a kitchen stove area, being placed on the wall above the stove on each side of the stove hood area. Try facing them toward each other for a dramatic effect. We even have island height corbels that can be used to transform a kitchen island into a work of art.
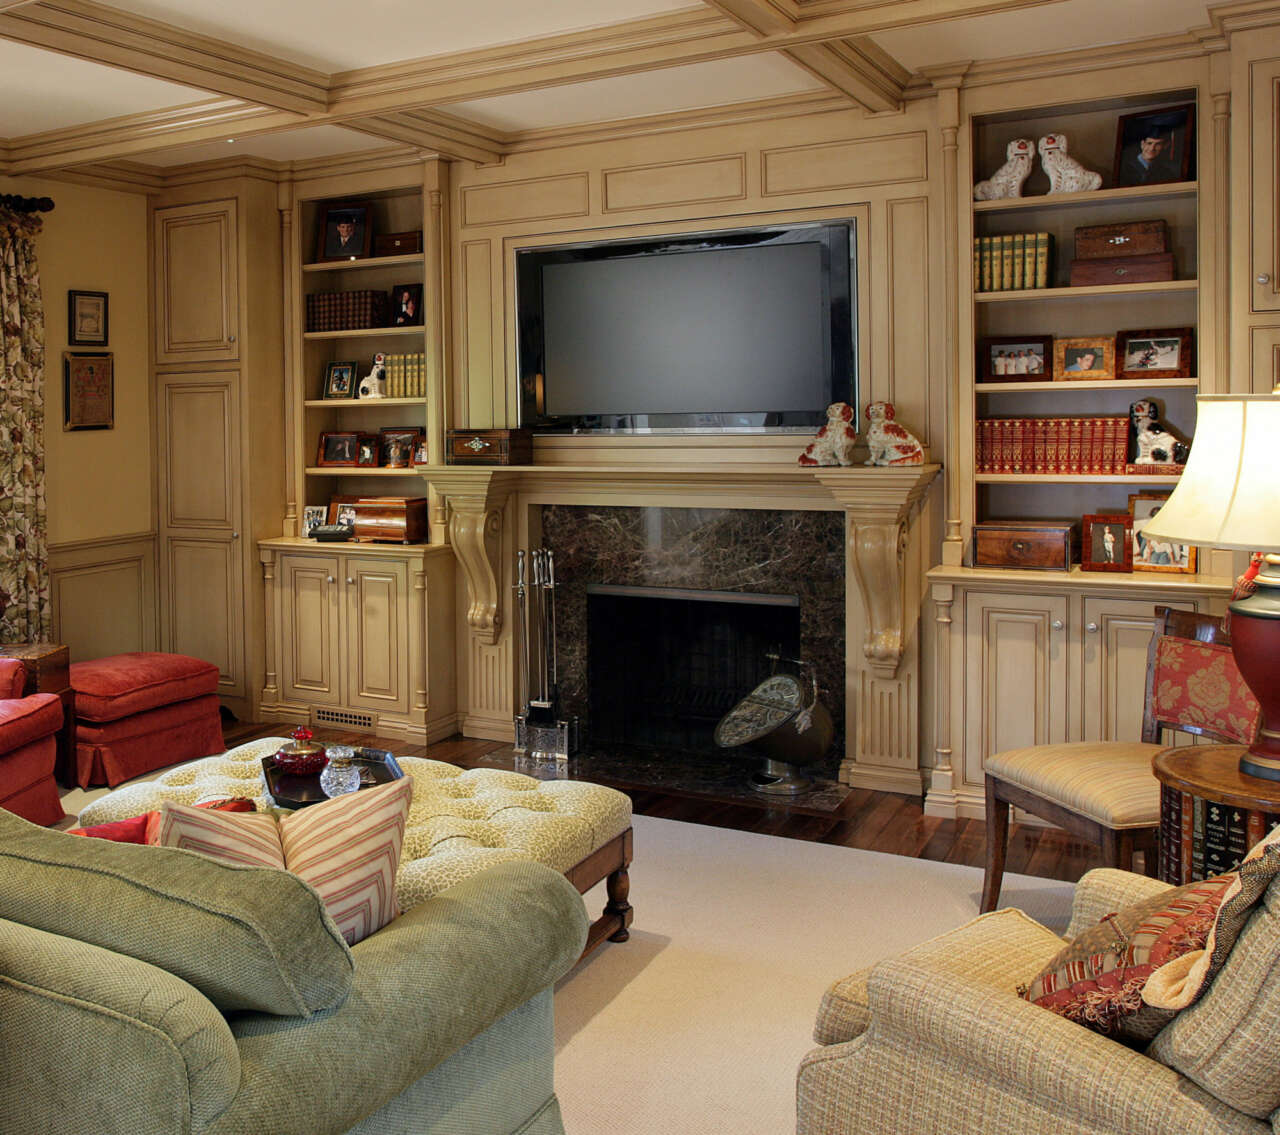 |  |
FIREPLACE: Fireplace mantels are a fairly common location for beautiful corbels, since they are usually the centerpiece of a room. Your fireplace is where your family gathers often, and you can make it a showpiece by adding just two well-chosen corbels. It doesn’t matter if your fireplace is large or modest, the use of these beautiful supports will completely change the look of any hearth.
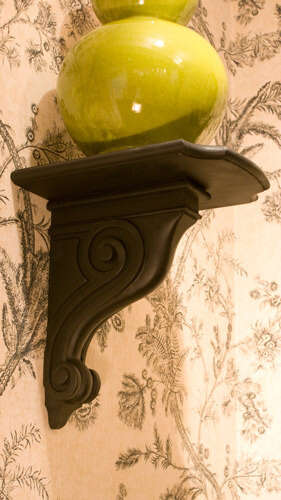
EMPTY WALL AREA: If you have an empty wall area, it might just be the perfect place for a corbel table that can accent a room by showing off your precious things. A corbel table is simply a shelf that is supported by two (or more) stunning corbels mounted on the wall. It can hold old books, plants, cherished photographs, trophies, or just about anything at a nice eye-level height, so you can display your beautiful possessions very tastefully!
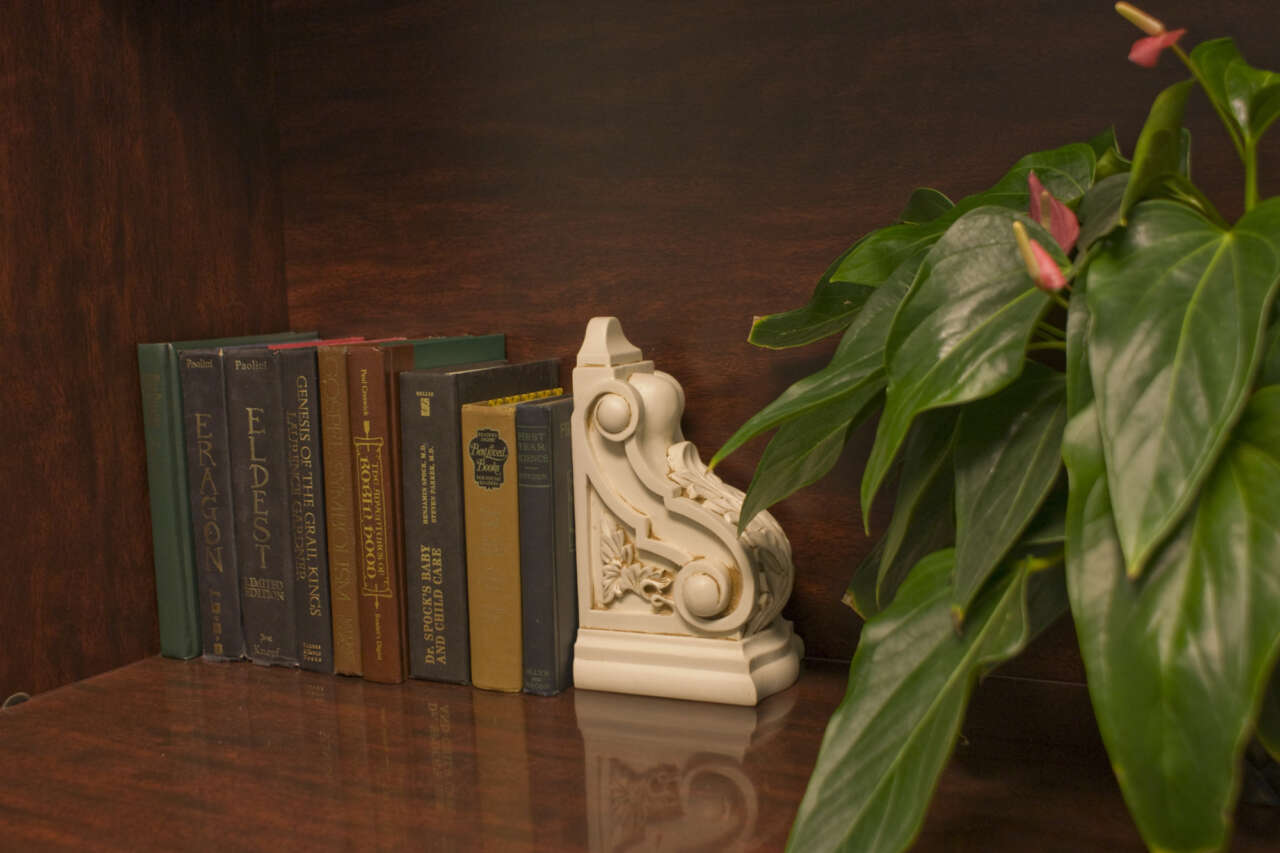
BOOKENDS: Corbels make dramatic and effective bookends that can showcase a small table, or they also work on a bookshelf. Use one corbel to support a row of books that extends to the wall of the bookshelf, or use two corbels and sandwich books in between them. Osborne carries a wide variety of corbels that are not only heavy enough to serve as effective bookends but beautiful enough to fit any décor.
ENTRYWAY: An entryway to a home or just to another room in the home can be improved by positioning a pair of corbels on either side. Use a pair of corbels with the same width and finish (stain or paint color) as the frame of a doorway to really dress it up. Simply place the corbels at the extreme top corners of the frame. For interior entryways you can position the corbels facing each other—beautiful!
SINGLE CORBELS : Use a single corbel to display one cherished item, such as a trophy, a framed photograph, or other piece of artwork. Even the simplest everyday things, if placed on top of a decorative corbel, suddenly become a showcase that attracts attention. Placing a plant, a candle or just about any decorative object on the top of a corbel can be enough to add personality to any room.
Be sure to browse our full collection of corbels and brackets! With so many designs and styles to choose from, you are bound to find the perfect corbel for your build. Our collection includes various wooden profiles, as well as metal and fusion designs. We look forward to seeing how you incorporate these unique decorative elements into your home.